 English


How to Use MetaMask with DeFi Apps?
Using MetaMask with DeFi apps is simple. It’s just that the first time you fire up MetaMask and try to use it with a DeFi app, it’s a bit like staring at an alien spaceship dashboard. You’re clicking buttons, hoping nothing explodes, wondering where your ETH went, and Googling terms like “gas fees” or “slippage” like your life depends on it.
Don’t sweat it. We’ve all been there.
The good news? Once you get the basics down, using MetaMask with DeFi apps becomes second nature. It’s kind of like riding a bike except the bike is made of digital wallets and smart contracts.
Anyway, let’s get into it.
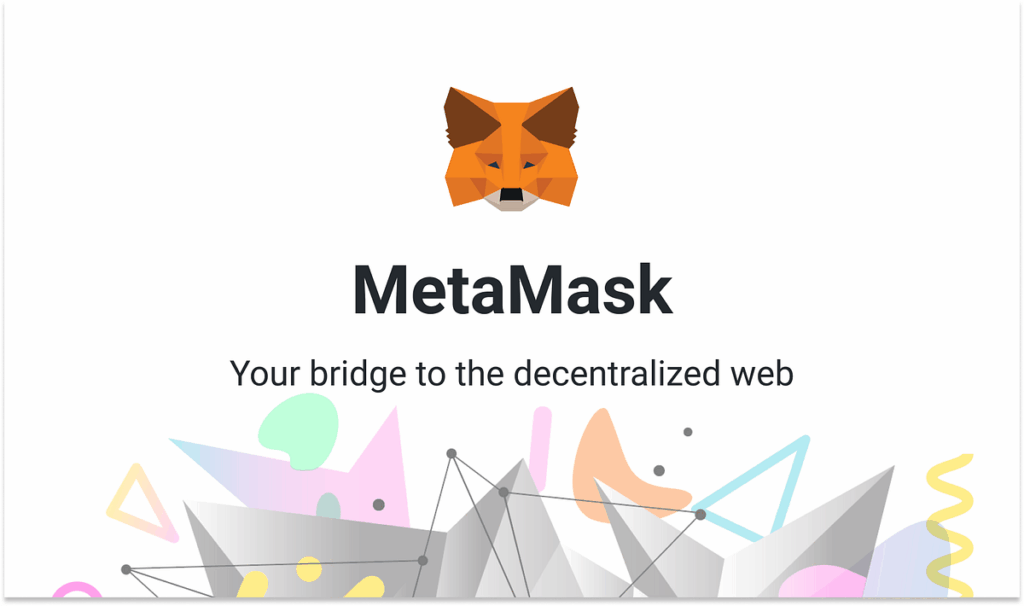
What’s MetaMask?
MetaMask is a crypto wallet but also more than that. It’s a browser extension (and mobile app) that lets you interact with the Ethereum blockchain and other compatible chains. Think of it as your passport to Web3.
You can:
- Store crypto like ETH or stablecoins
- Connect to dApps (aka DeFi apps, NFT sites, DAOs, etc.)
- Sign transactions
- Swap tokens right inside the wallet
But in the DeFi world, MetaMask is basically your key to the entire kingdom.
Step 1: Install MetaMask
If you’ve already got MetaMask, feel free to skip this section. But for the newbies, here’s how you get rolling:
- Go to https://metamask.io
- Download the extension for Chrome, Brave, or Firefox. (Or install the mobile app if you’re on the go.)
- Follow the steps to set up your wallet. You’ll get a seed phrase – DO NOT lose this. Don’t take a screenshot, don’t email it to yourself. Write it down and keep it safe.
Step 2: Fund Your Wallet
Now, MetaMask without ETH is like a car with no gas. You can’t really do much.
You’ll need to transfer some ETH (or whatever token your chosen DeFi app uses) into your wallet. If you already have crypto on an exchange like Coinbase, Binance, etc., just send it to your MetaMask address. You’ll find it at the top of the extension—it starts with “0x”.
Heads up: You’ll pay a network fee (gas). That’s just part of life on Ethereum.
Step 3: Choose a DeFi App
Here’s where things get fun. There are a lot of DeFi apps out there – each doing something a little different. Some big names you’ll hear often:
- Uniswap – token swaps
- Aave – lending and borrowing
- Compound – similar to Aave, slightly different UI
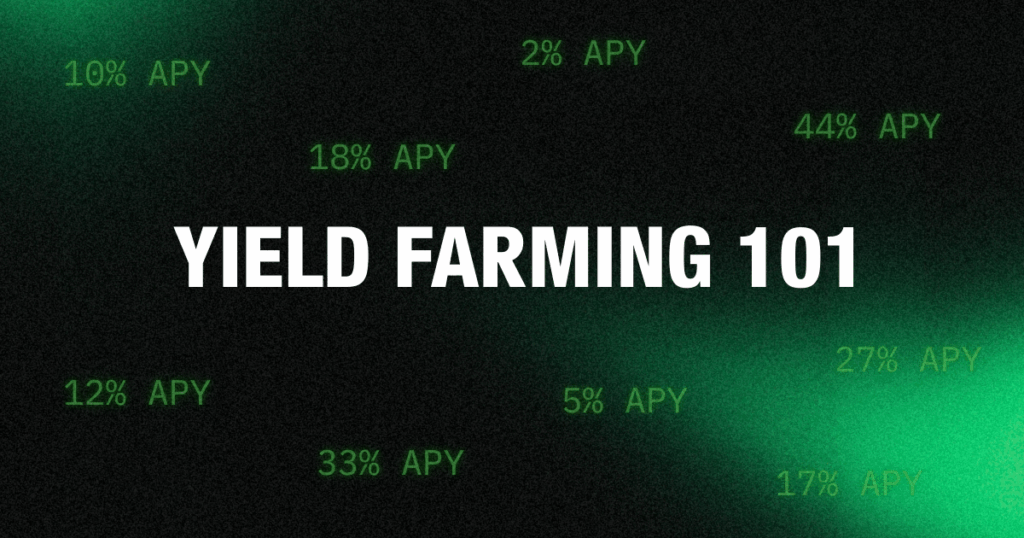
- Yearn – auto-optimized yield farming
- Curve – stablecoin swaps, low slippage
- Balancer – portfolio-style liquidity pools
For this walkthrough, let’s use Uniswap, since it’s super beginner-friendly.
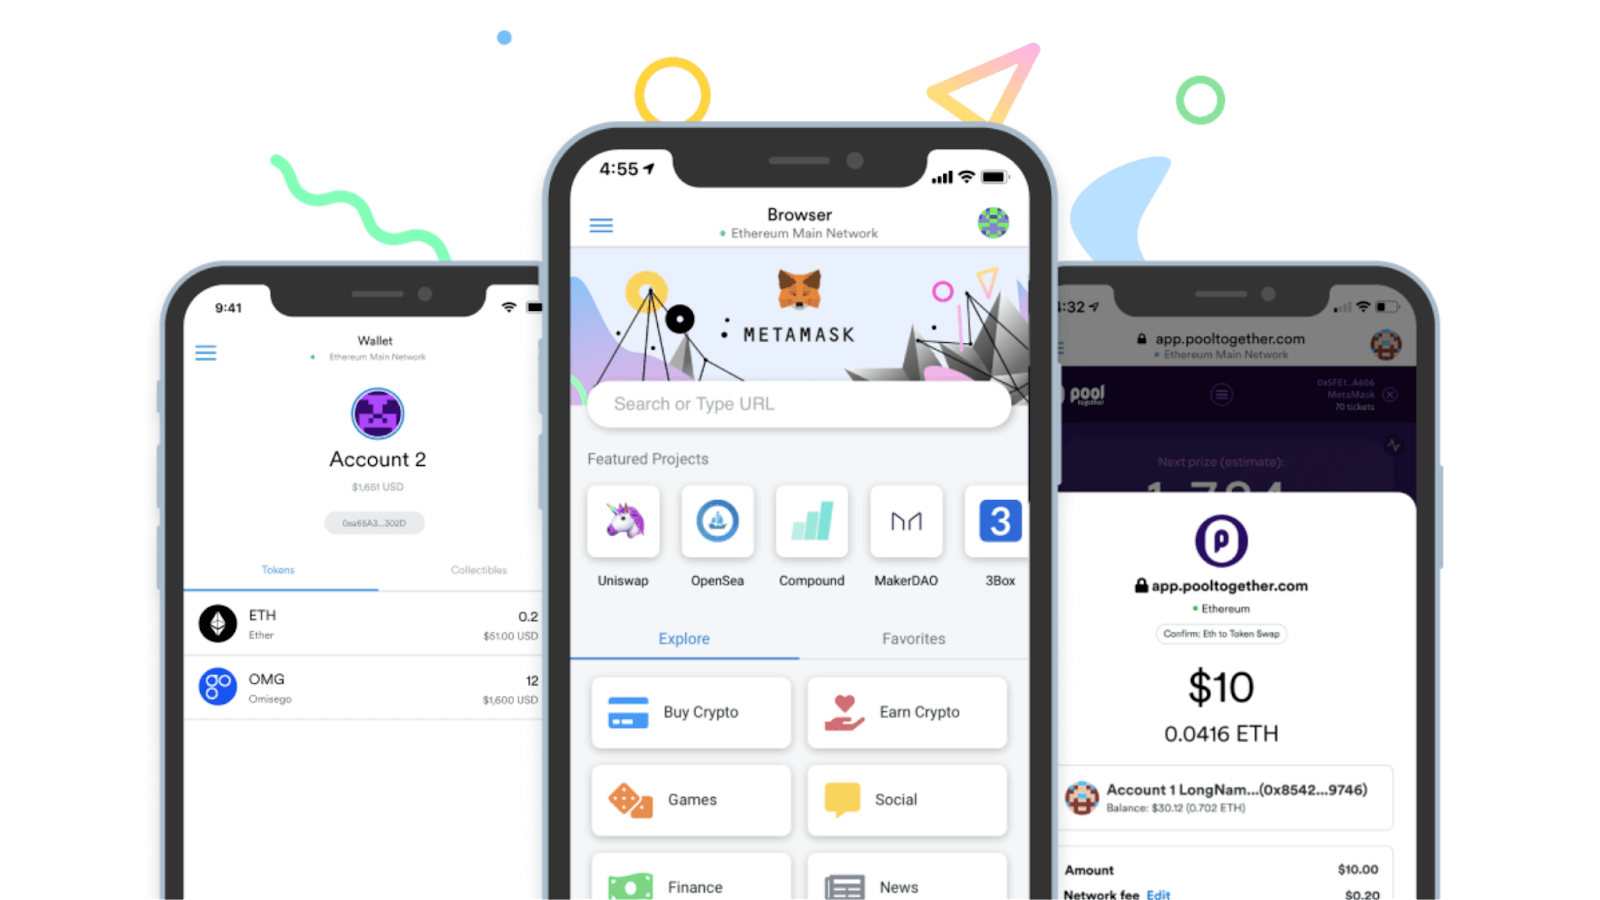
Step 4: Connect MetaMask to the DeFi App
- Now, go to https://app.uniswap.org.
- You’ll see a button somewhere in the top right that says “Connect Wallet”. Click it.
- Choose MetaMask from the list.
- Your MetaMask extension will pop up asking you to connect. Approve it.
- You’re now connected.
This is the part where you may feel like a hacker. But also slightly terrified you’ll accidentally send $200 into the abyss. That’s normal.
Step 5: Make Your First DeFi Move (Let’s Swap Some Tokens)
Let’s say you’ve got ETH and want to swap it for USDC.
- On Uniswap, pick ETH as the token you’re swapping from.
- Pick USDC (or another token) as the one you’re swapping to.
- Enter how much ETH you want to swap.
- You’ll see an estimated amount of USDC you’ll receive.
- Click Swap.
MetaMask will pop up again asking for permission. It’ll show the gas fee and total cost. Hit ‘Confirm’ if you’re good with it.
Now wait a few seconds (or minutes if the network’s congested). And… done.
Your new tokens should show up in MetaMask automatically, but sometimes you have to add them manually using the token’s contract address. A quick Google (or Etherscan search) can help you find that.
What About Other Networks?
Good catch. Ethereum gas fees can be painfully high. That’s why many DeFi users jump to other chains like:
- Arbitrum or Optimism (Layer 2 solutions for Ethereum)
- Polygon
- Binance Smart Chain
- Avalanche
Here’s the thing: MetaMask works with all of them, but you’ll need to manually add the network. It’s a one-time thing.
Go to chainlist.org, connect your MetaMask, and you can easily add verified networks with a click.
Pro tip: Once you’re on a new network, make sure you have that chain’s gas token (e.g., MATIC for Polygon) or your transactions won’t go through.
Some Tips So You Don’t Wreck Yourself
Honestly, DeFi is amazing, but also kind of unforgiving. Here’s some advice, from someone who’s clicked the wrong button more than once:
- Start small. Just dip your toes in. Don’t throw your life savings into a random liquidity pool.
- Always double-check the site URL. Scams love fake clones.
- Use hardware wallets for bigger amounts. MetaMask + Ledger = solid combo.
- Watch gas fees. Sometimes, waiting 10 minutes saves you $20.
- Don’t FOMO into stuff you don’t understand. If a yield sounds too good to be true, yeah it probably is.
Real Talk: Is This Safe?
Look—there’s a risk. No way around that. Smart contracts can have bugs. Platforms can get hacked. And humans? We make mistakes. (Like fat-fingering a transfer to the wrong address)
But if you stay cautious, do your research, and use trusted platforms, you’ll probably be fine.
That said, never invest more than you’re willing to lose.
Wrapping It Up
So yeah, using MetaMask with DeFi apps might seem intimidating at first. But once you connect the dots, it’s actually kind of empowering. You’re managing your own money, no middlemen, no bank hours. Just you and the blockchain.
Sure, there’s a learning curve. But it’s worth it. Once you figure it out, a whole new financial world opens up.